
- There is only so long (16 frames) that you can hold hard left/right while in a wheelie before your wheelie will be canceled.
- To wheelie turn without losing your wheelie, repeat the following steps:
- Briefly hold a direction.
- Briefly let off the stick.
- The stick should be held for longer than it is not.
- It is important that you cancel wheelies with a down input, rather than by turning.
- The latter results in a wider drift.
- Hold hard left/right so that your wheelie starts to drop.
- Input a wheelie as early as possible.
- This makes timing chains easier.
- Performing a chain wheelie drops you to a specific speed.
- It does not decrease your speed by a set amount.
- If you perform an artificial chain while below top speed, then you lose less speed than you would otherwise, thus saving time if doing so does not add any chains.
- Starting a wheelie shortly after ending a drift grants you extra rotation in the direction that you were turning, making you go tighter.
- Drift for at least 12 frames (preferably longer).
- Smash the stick in the other direction within one frame.
- The amount of airtime you get is determined by the amount of time that you were drifting.
- See the tech doc for more specific airtimes.
- Doing this also results in a quicker change in direction than you would get otherwise.
- Use the spear.
- Start Slide
- Example
- Hold right upon gaining control of Funky Kong.
- Wheelie just after letting off right.
- Wheelie again around the apex of the previous wheelie.
- Briefly hold right.
- Hold left until you stop moving.
- Repeat once more.
- Shroom through the grass patches at the beginning.
- Example
- Assuming ideal cycles, shrooming at the grass patch saves about a third of a second over shrooming elsewhere.
- You want to start a wheelie before the shroom ends.
- Performing an insta-wheelie is very helpful for this.
- Ideally, you get airtime immediately after you wheelie.
- You want your approach into the first grass patch to be as far to the right as is possible given the other requirements of the shroom.
- Shroom right as you touch the first grass patch.
- Waiting for a short period of time can make the shroom easier.
- Grab (Terminology)
- Note the wall directly to Funky Kong's right in the below picture.
- If you touch this corner in a certain way, then you will be pulled to the right while maintaining a similar angle. Henceforth, this will be referred to as being grabbed.
- Trick
- All trick methods are difficult for beginners to do effectively. Therefore, tricking will not be recommended for slower shroom strats.
- Low Air Left Trick (Recommended)
- There are three ways to approach the trick. Which you choose primarily depends on your shroom exit.
- Standard
- Example
- No grab.
- Wheelie turn right until just after the grab corner.
- Wheelie turn left until shortly before the planter.
- Drop your wheelie.
- Drift left.
- Wait for a split second after hitting the planter to trick.
- After tricking, tap right.
- Wheelie.
- Grab
- Example
- Get grabbed.
- Adjust your angle before the planter.
- I cannot be more specific. How you are grabbed is inconsistent.
- Drop your wheelie.
- Drift left.
- Wait for a split second after hitting the planter to trick.
- After tricking, tap right.
- Wheelie
- Edge
- Example
- Wheelie straight at a point just right of the planter's edge.
- Drop your wheelie.
- Drift left such that you hit the edge of the planter.
- Wait for a split second after hitting the planter to trick.
- After tricking, tap right.
- Wheelie
- Right Trick
- Higher Air Left Trick
- Up Trick
- Example
- This method can be useful for certain cycles where a wider approach to the hairpin is necessary.
- Right Side Boost Panel
- Example
- This saves about 30 milliseconds per lap.
- It is difficult for beginners. Therefore, it will not recommended in slower shroom strats.
- You need to maintain a wheelie all the way until the below boost panel in order to save time.
- Wheelies on Boost Panels
- Per Estaloy, it takes over 36 frames in a wheelie to gain 0.001 seconds over no wheelie when using spear.
- It is not imperative that you maximize wheelie time when on the boost panels.
- Here are some common places where people do not wheelie.
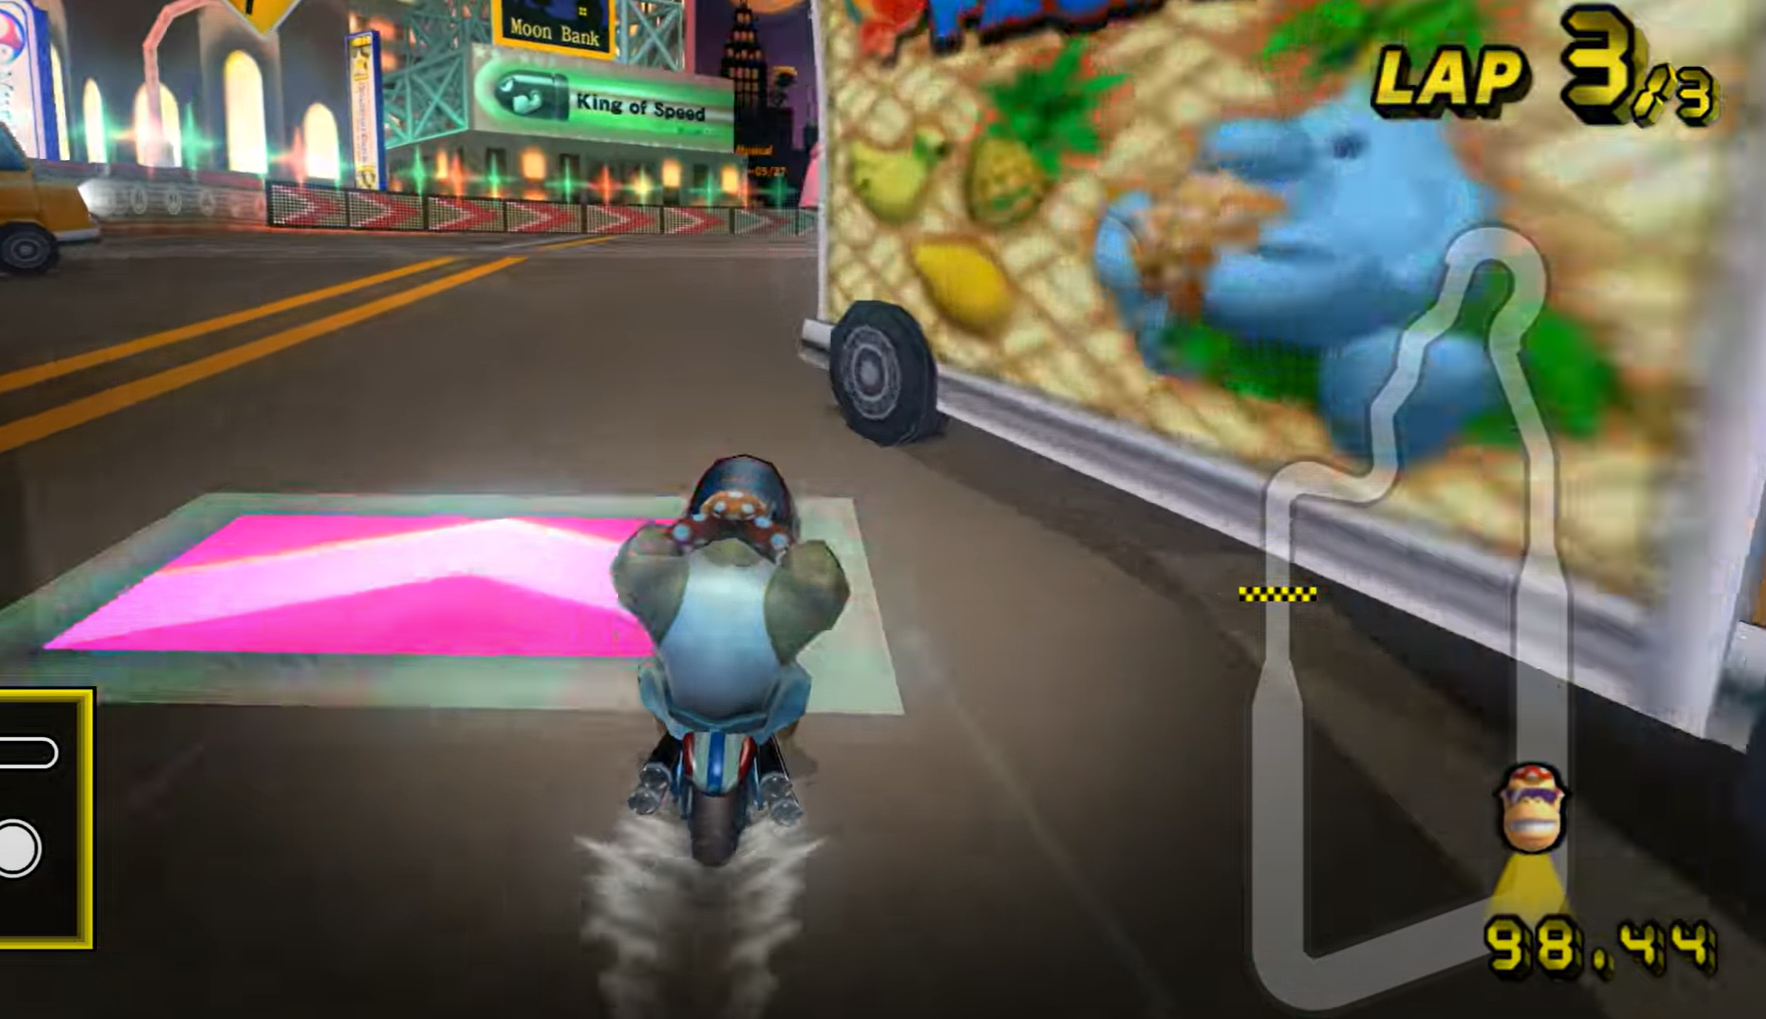
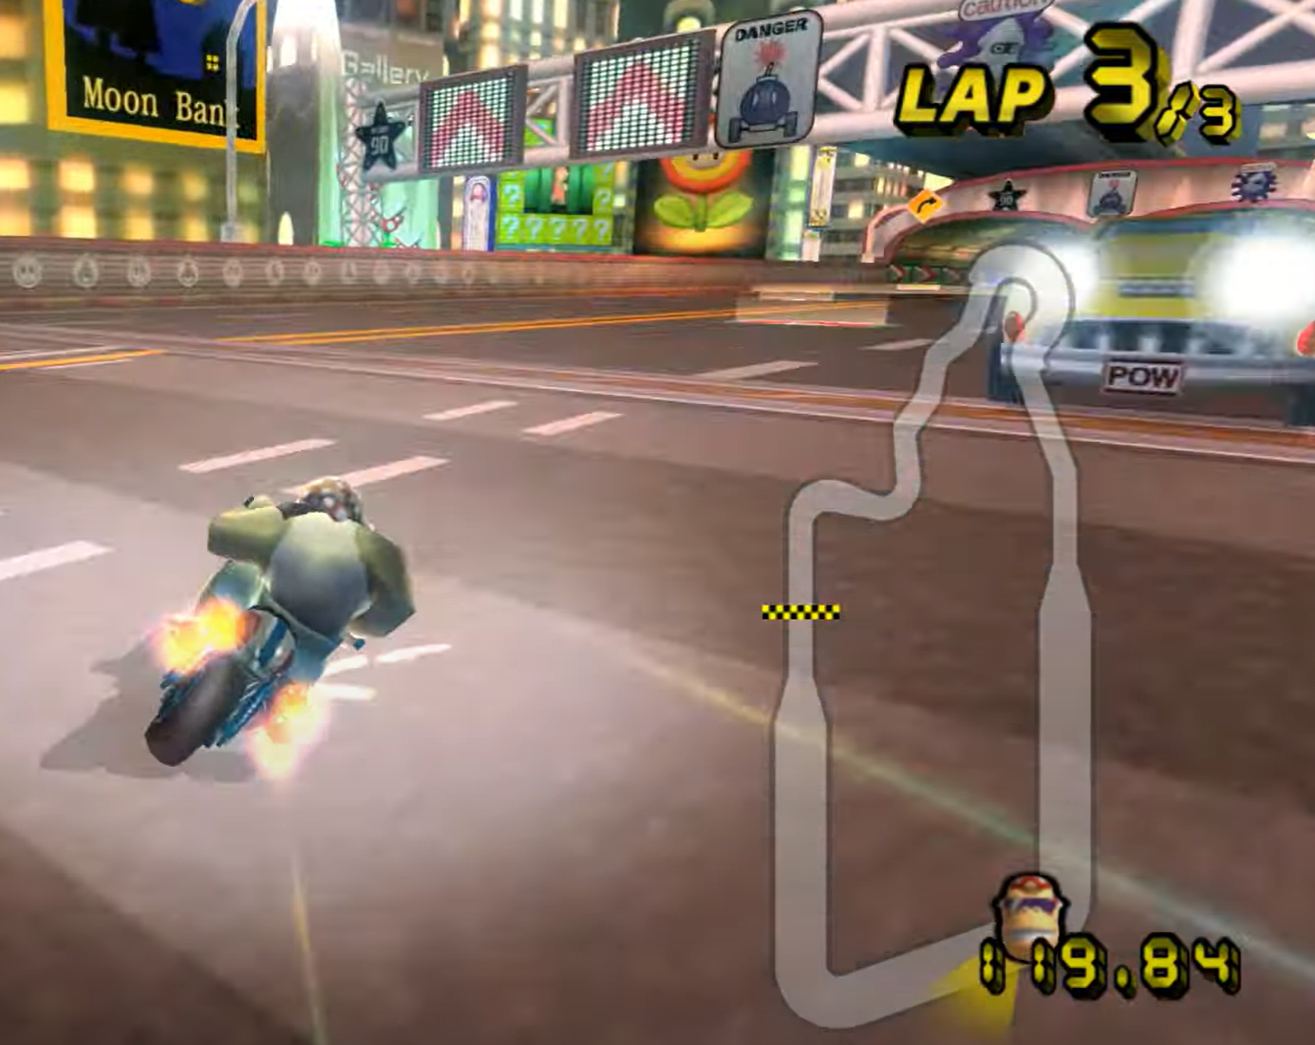
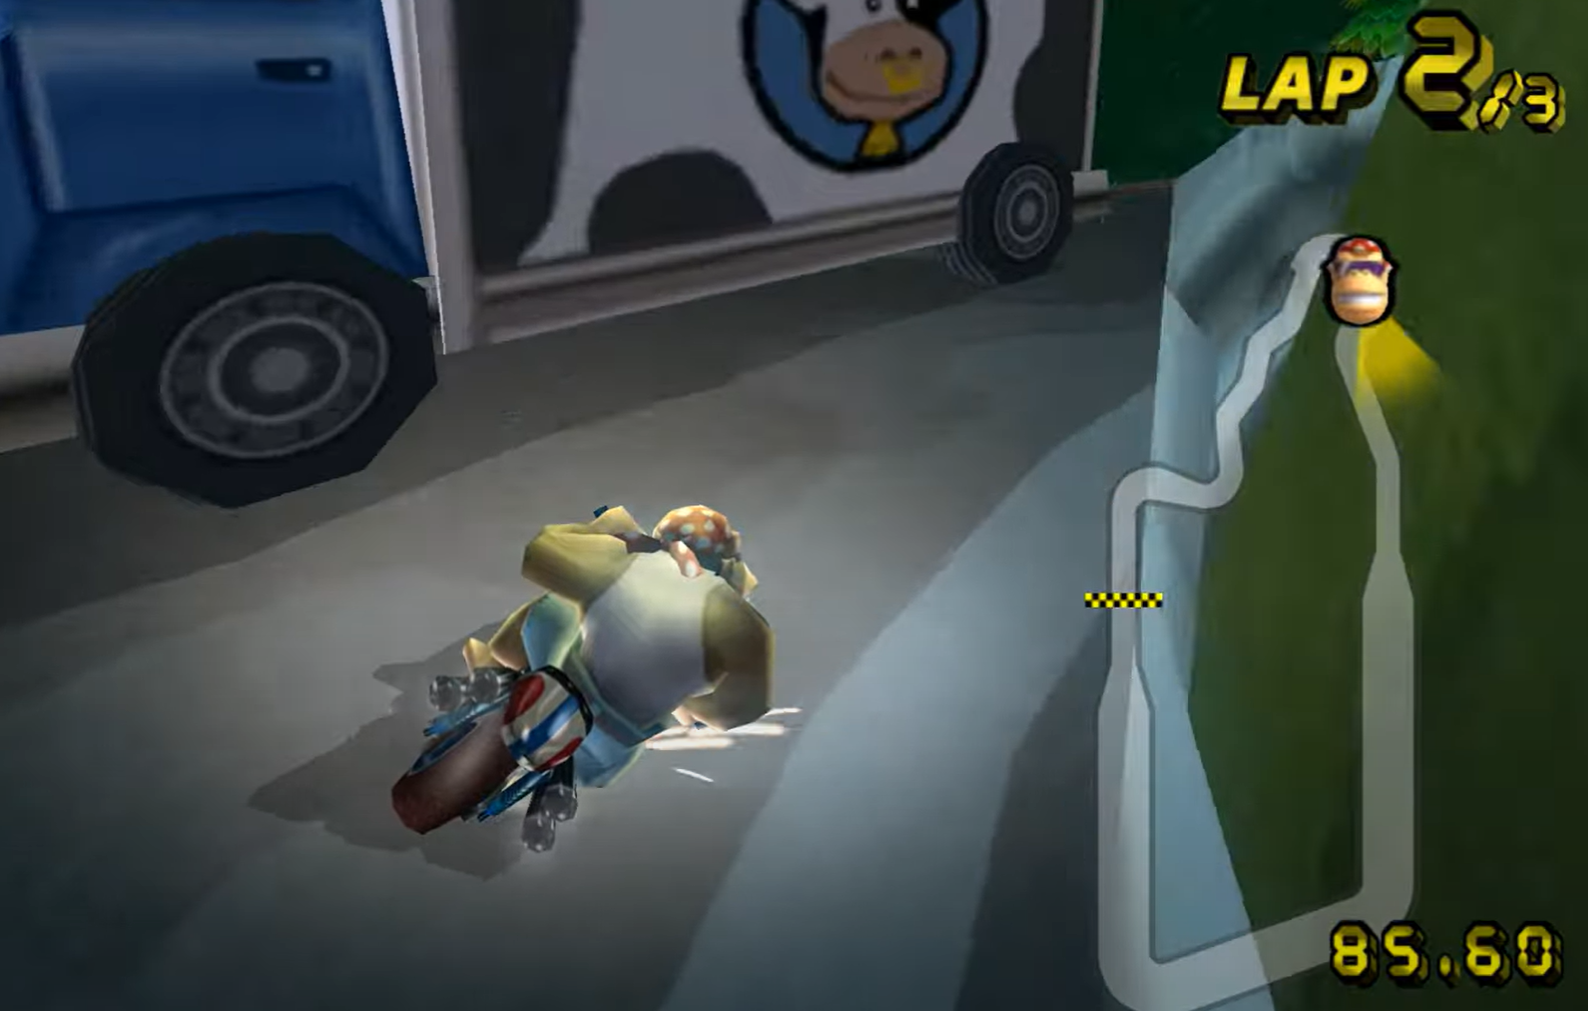
- End of Lap 3
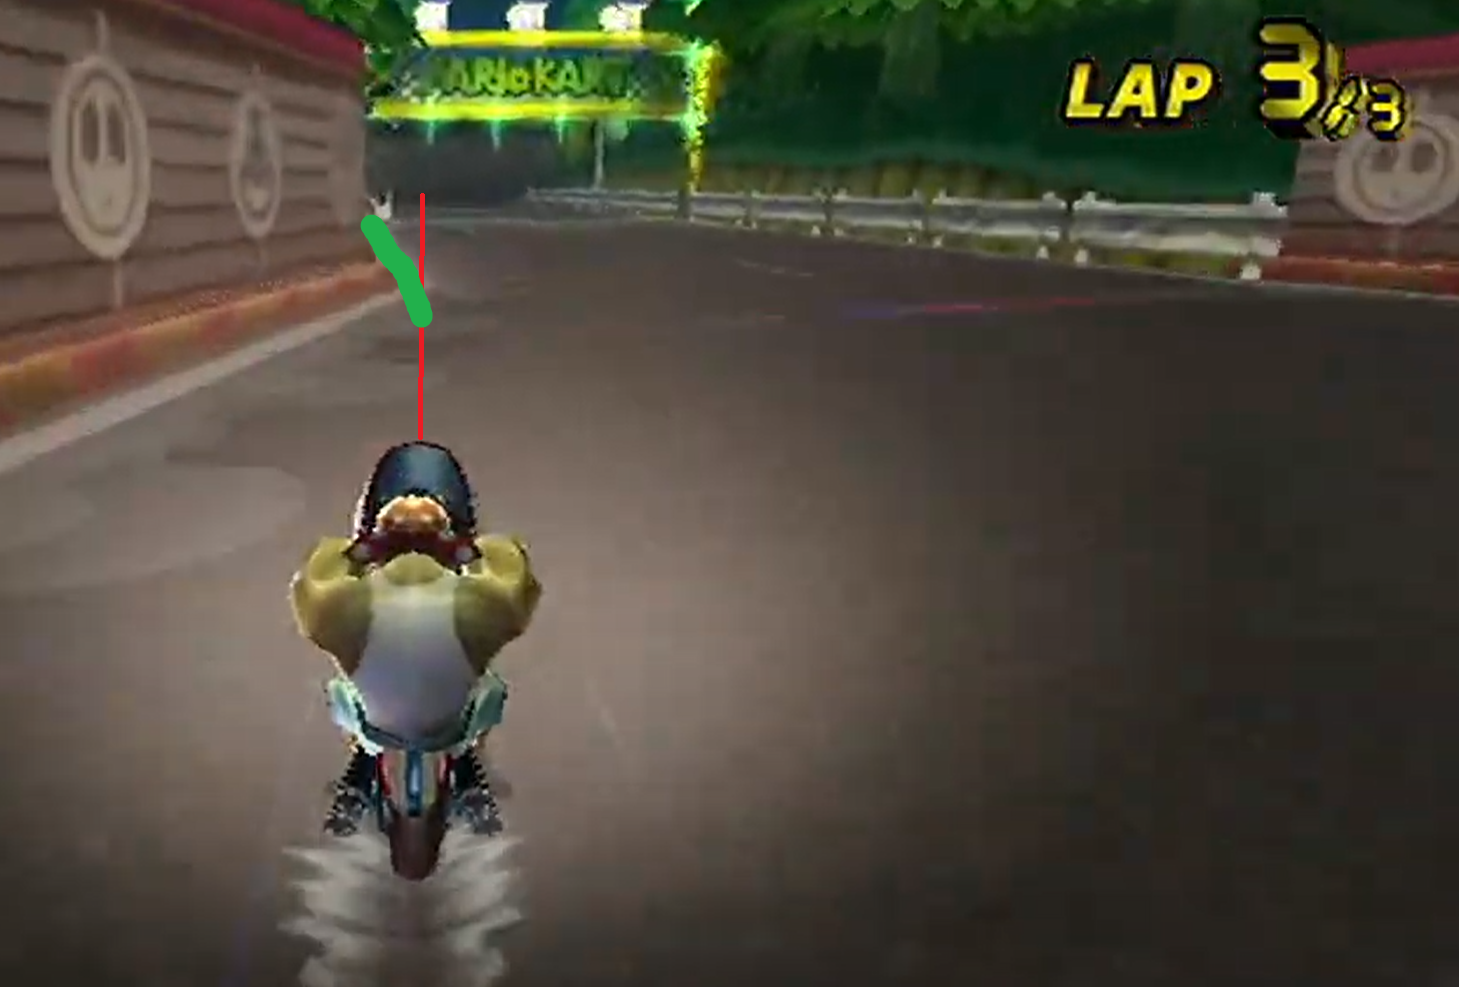
- You want to end the run perpendicular to the finish line.
- Follow the green path in the below picture, rather than the red one.
- 1-1-1 for Mid 1:45
- Lap 1
- Beginning
- I do not recommend tricking.
- I recommend that you try to do the section from the start up until the approach to the hairpin like this: Goal.
- If you struggle with the goal, then take some time to align yourself after the shroom and go right of the oncoming red car and milk truck in the picture below, like this: Backup.
- Hairpin Exit
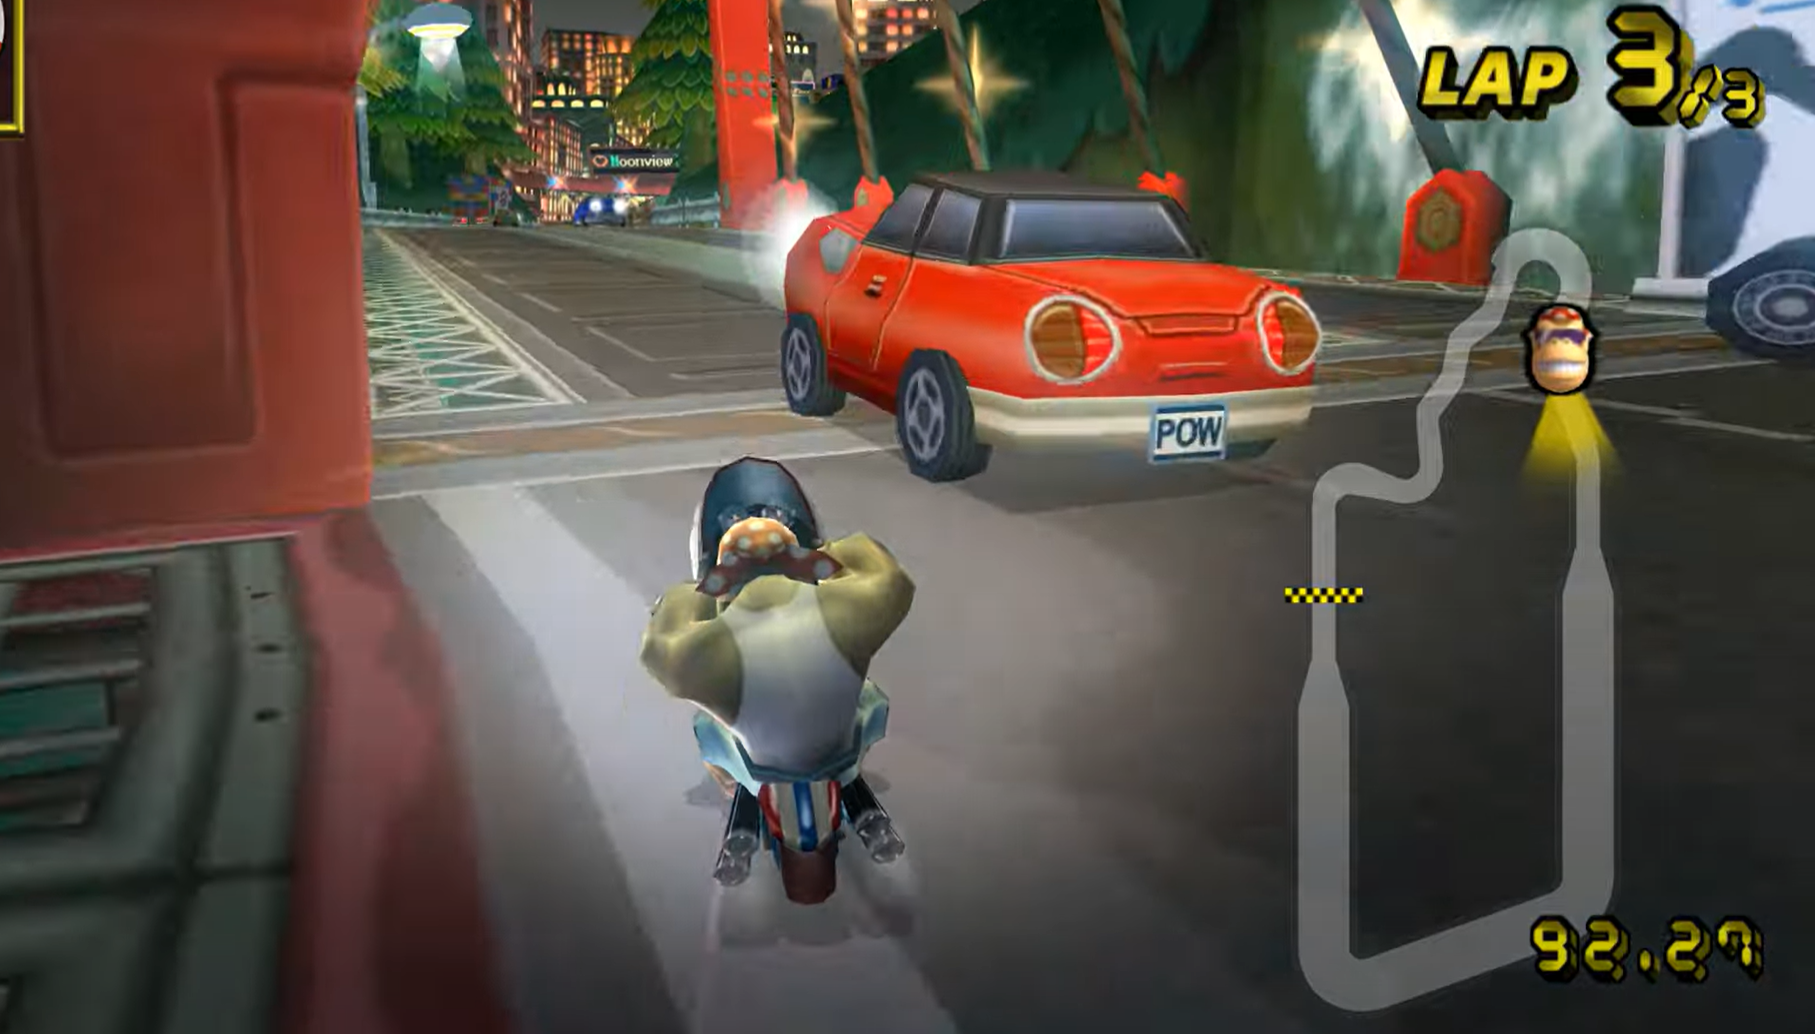
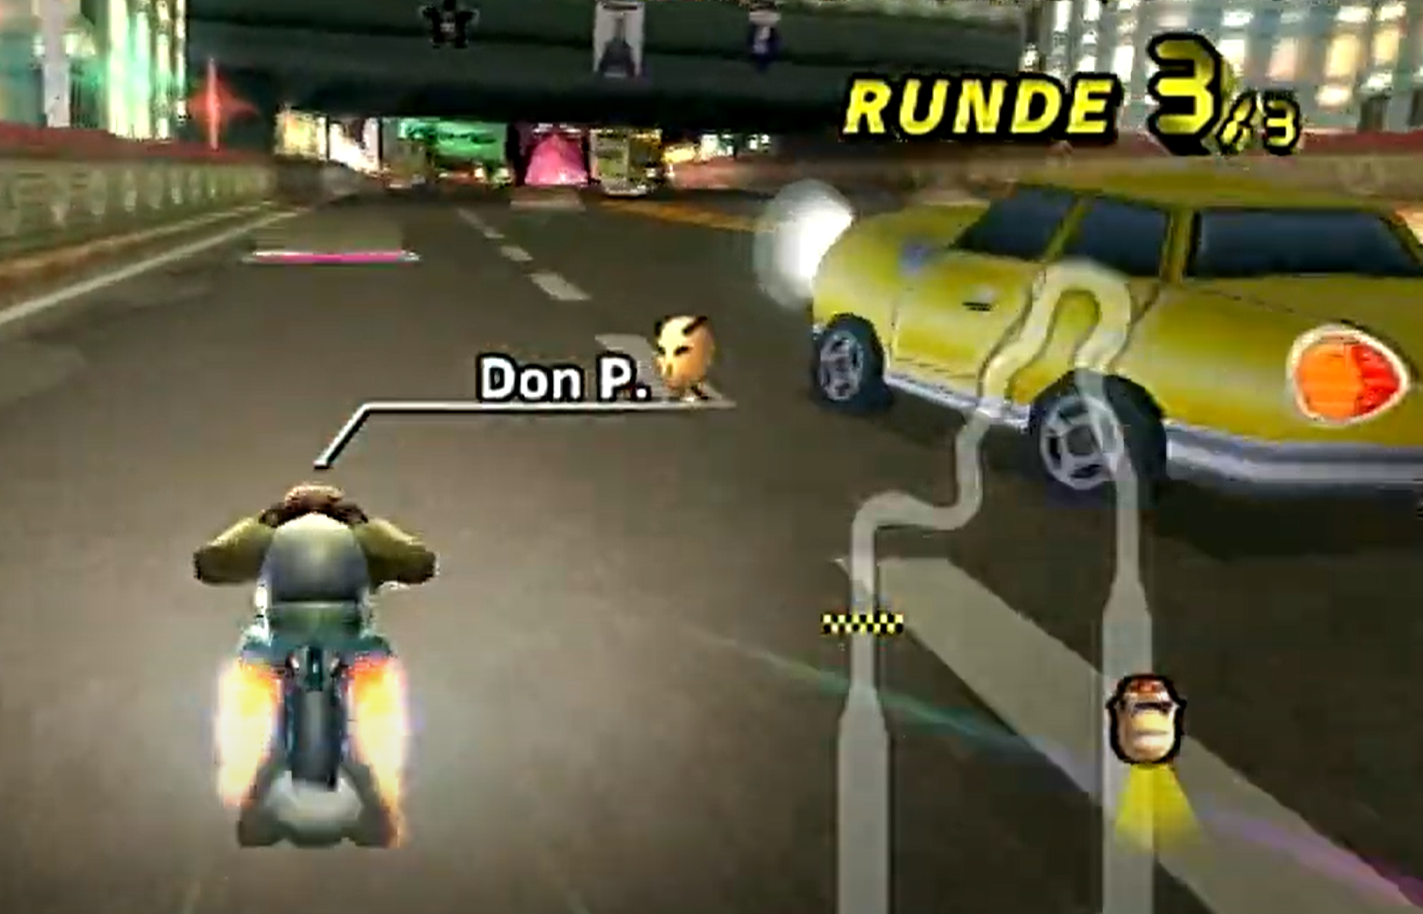
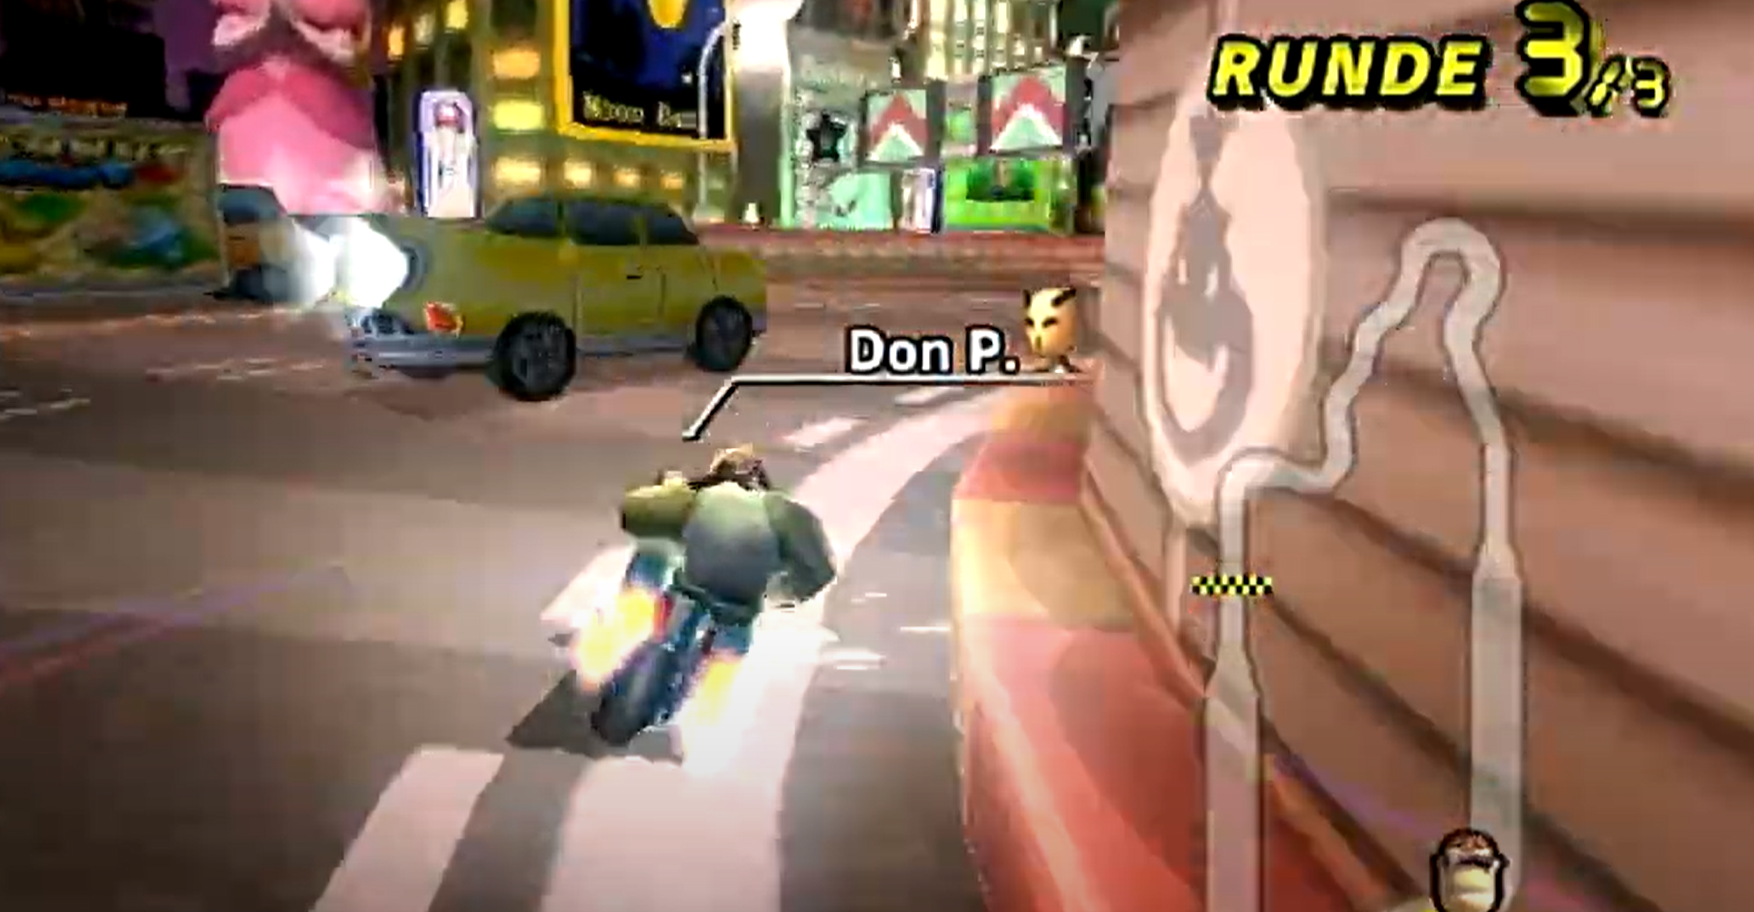
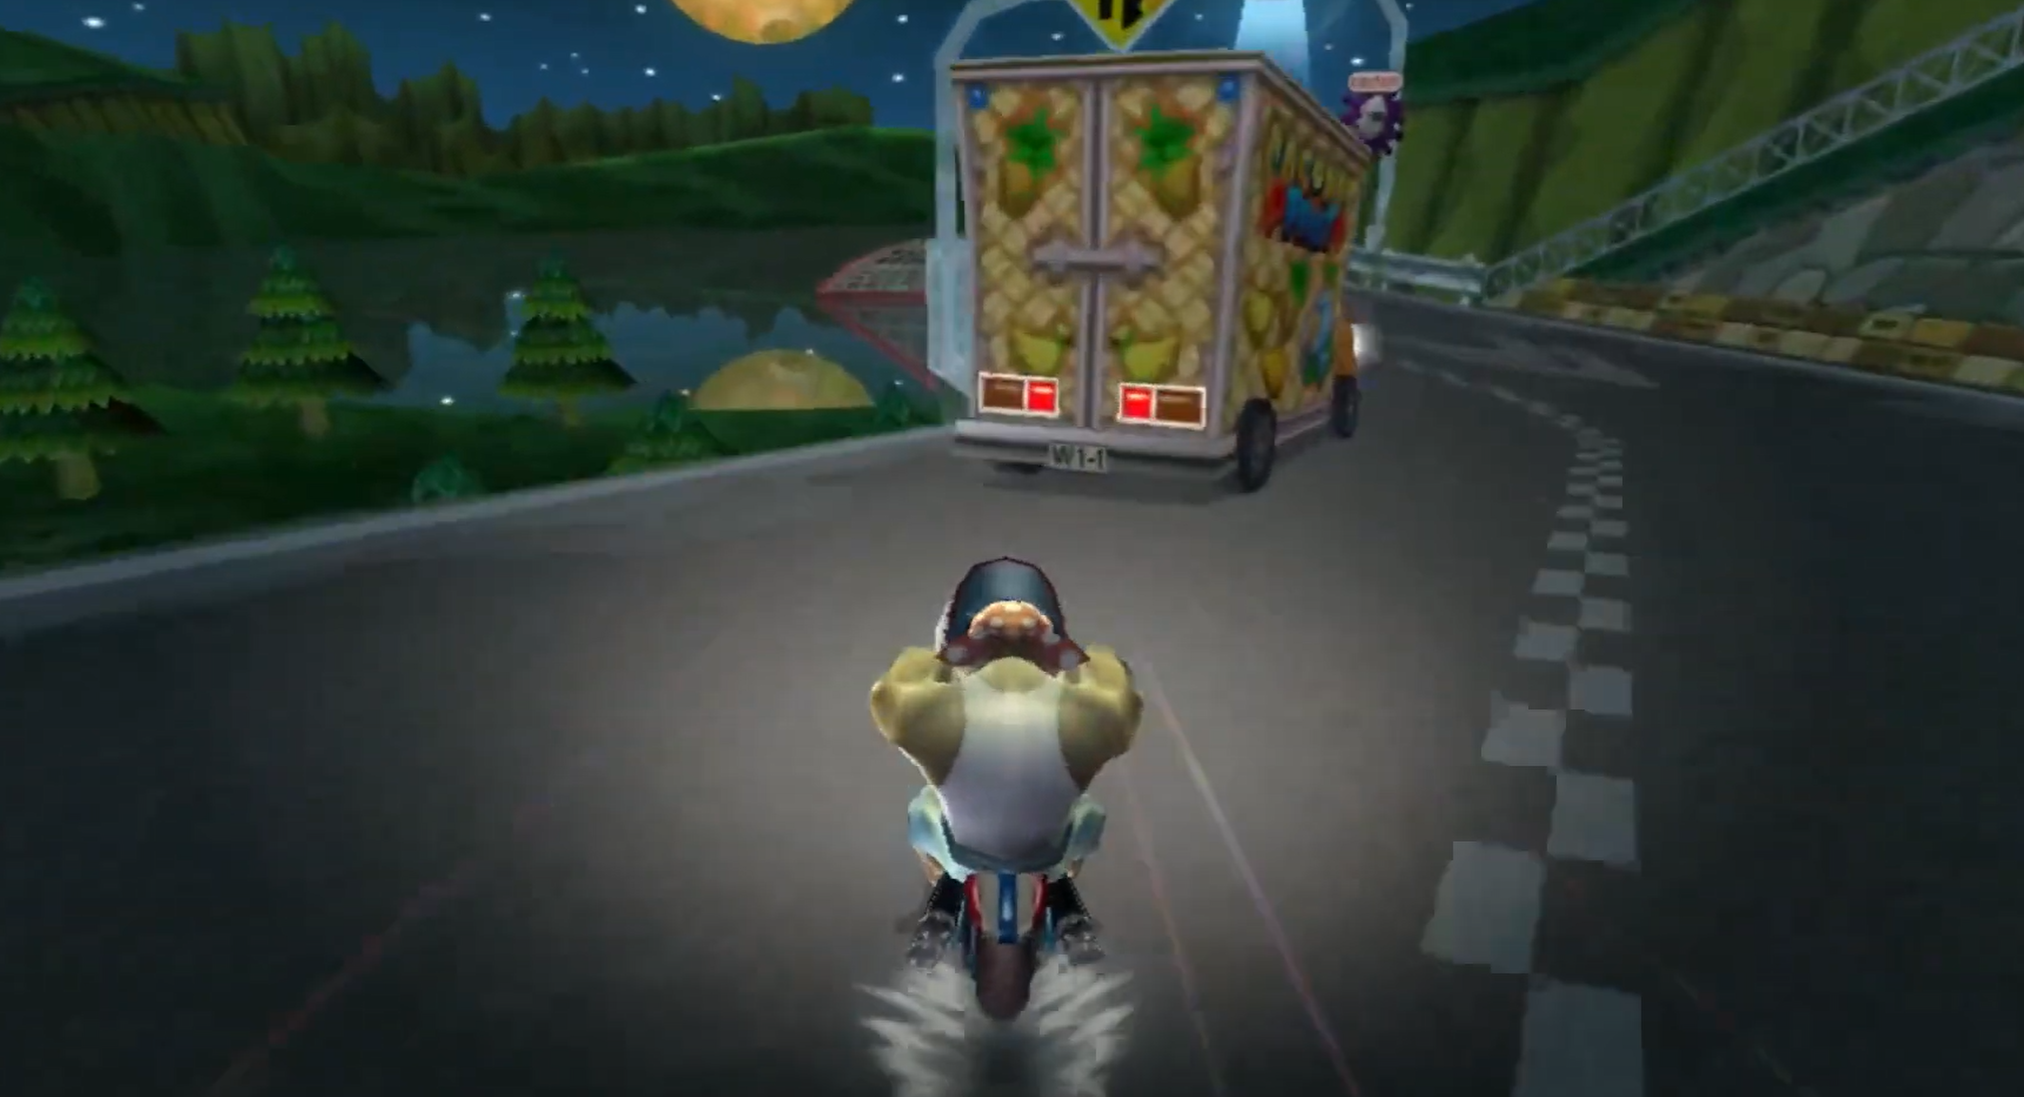
- The below car will cause you some problems.
- Try to take the section from the hairpin exit to the boost panels like this: Goal
- When performing the below wheelie cancellation, you might find it beneficial to cancel the wheelie by turning left, rather than through a down input.
- If you struggle with the goal, then try this: Backup.
- Ending the Lap
- The end of the lap should look something like this: Goal
- It is alright if you go right of the below car.
- If you are consistently hitting 35.0xx and/or 34.9xx laps, then consider jumping ahead to 0-0-3.
- If you are consistently hitting laps faster than 34.900, then consider jumping ahead to 0-1-2 or 1-1-1 for mid 1:44.
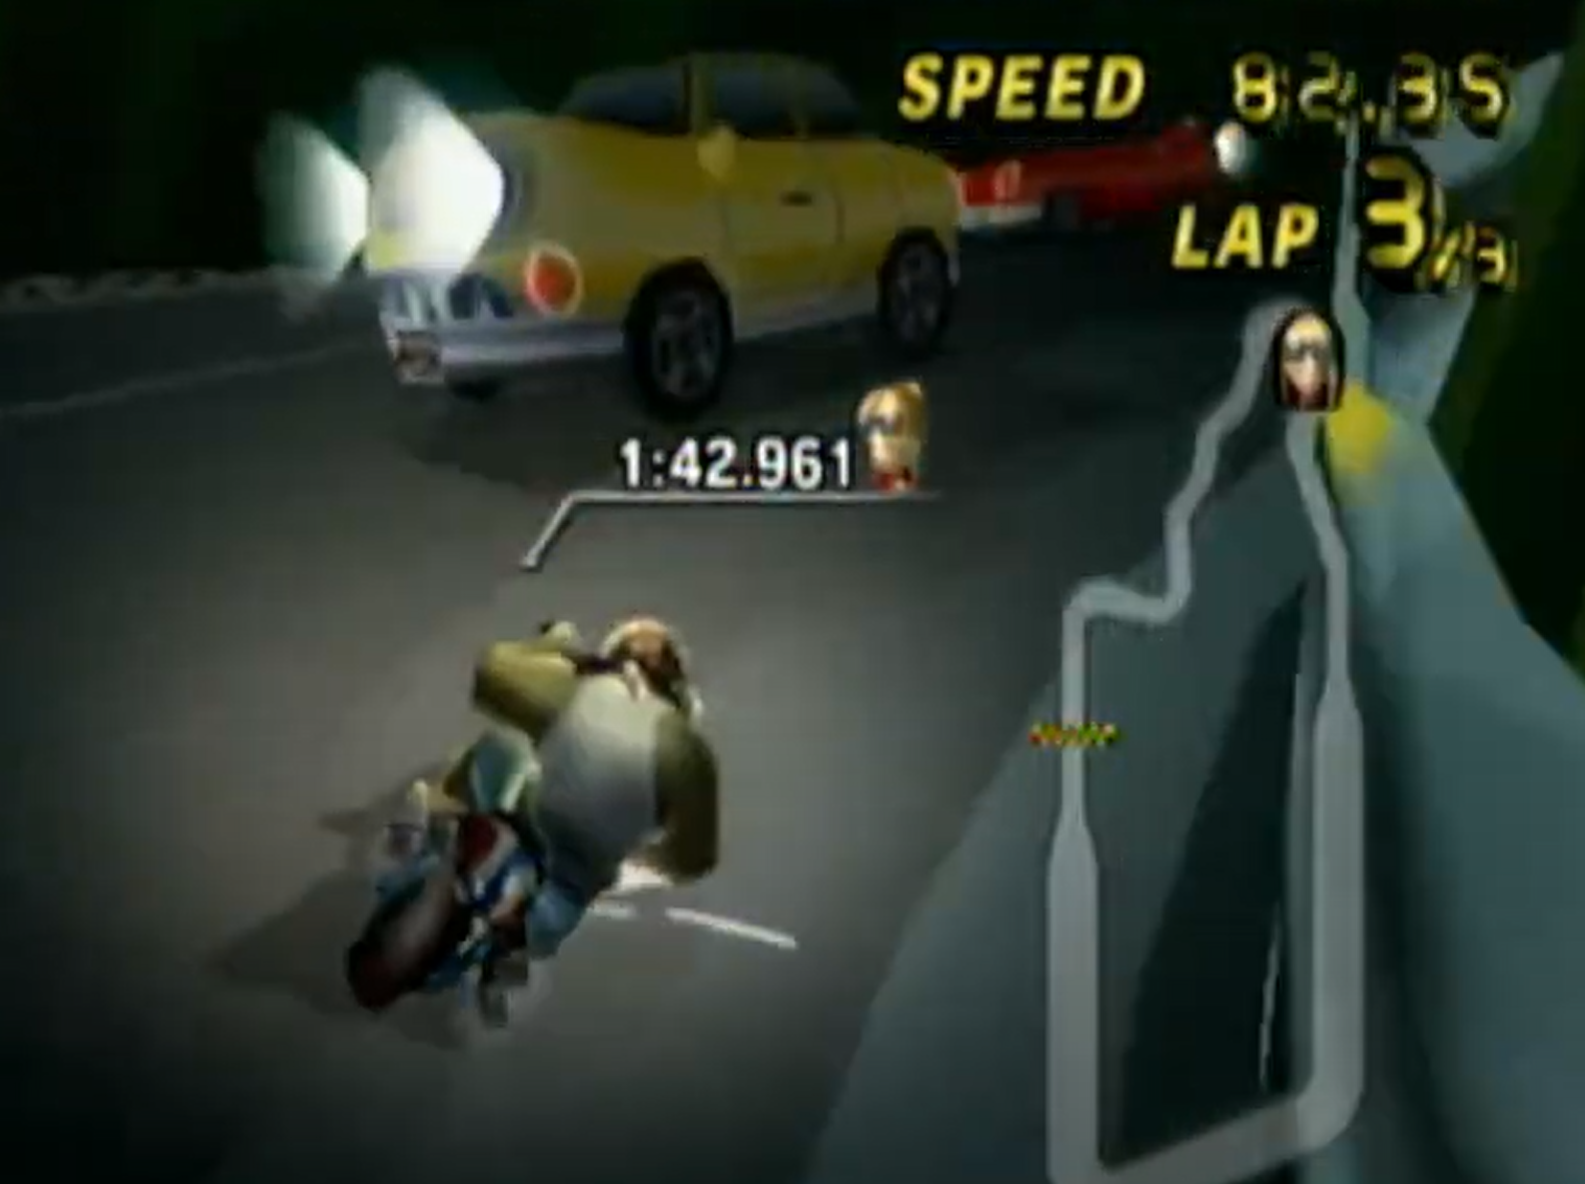
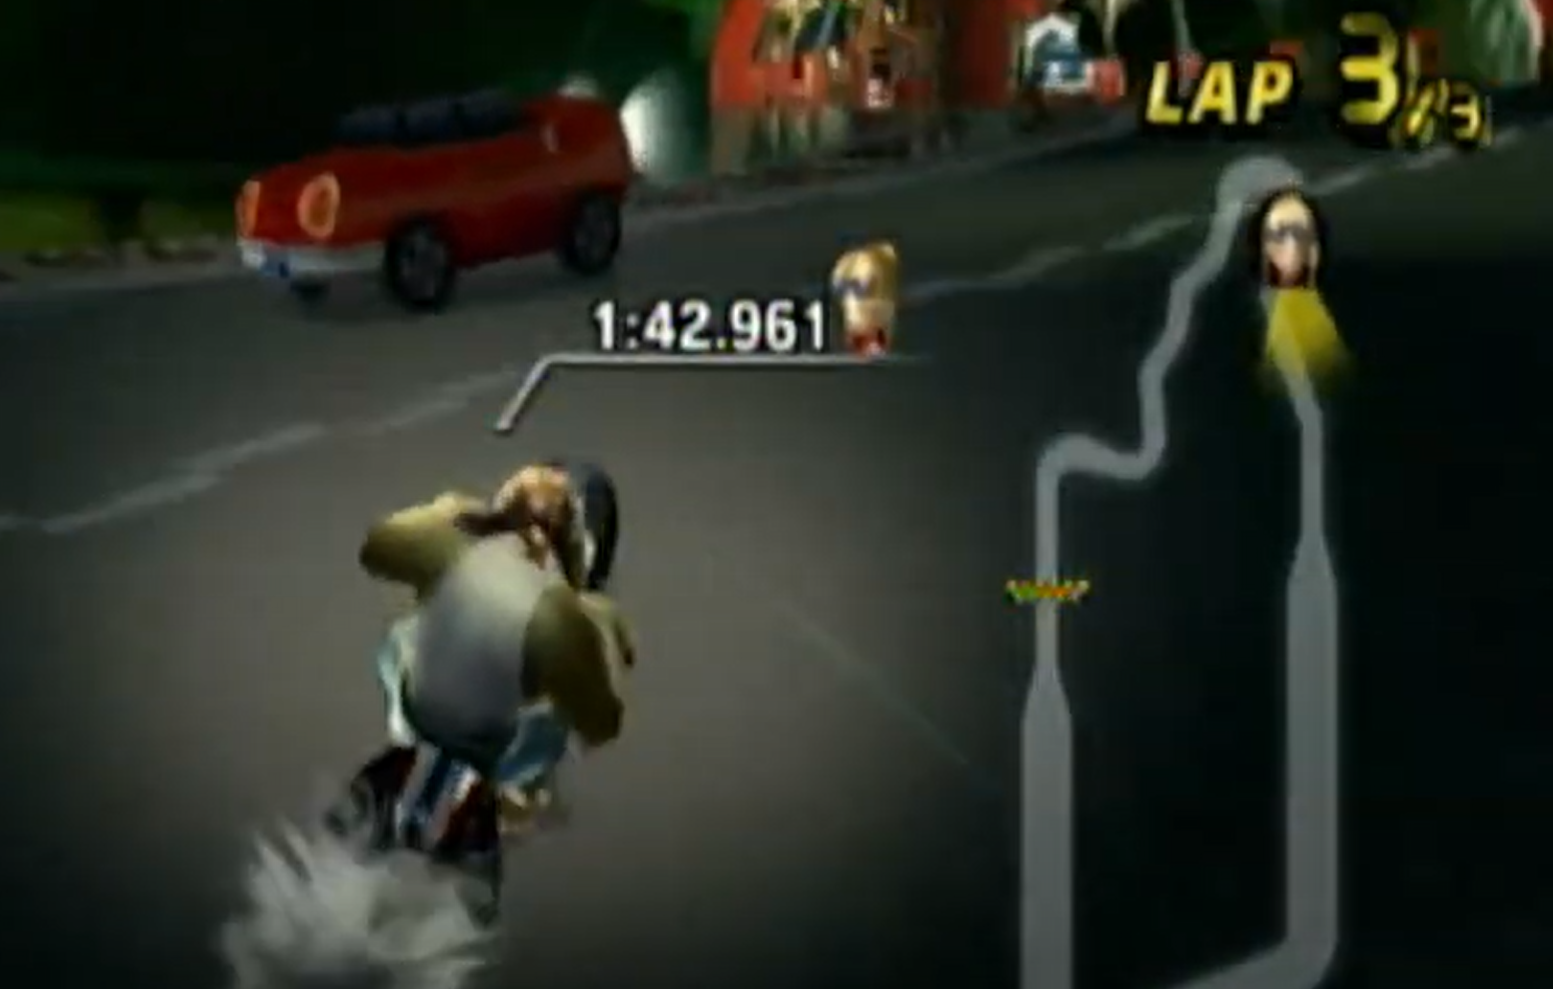
- Lap 2
- Between the Shroom and the Hairpin.
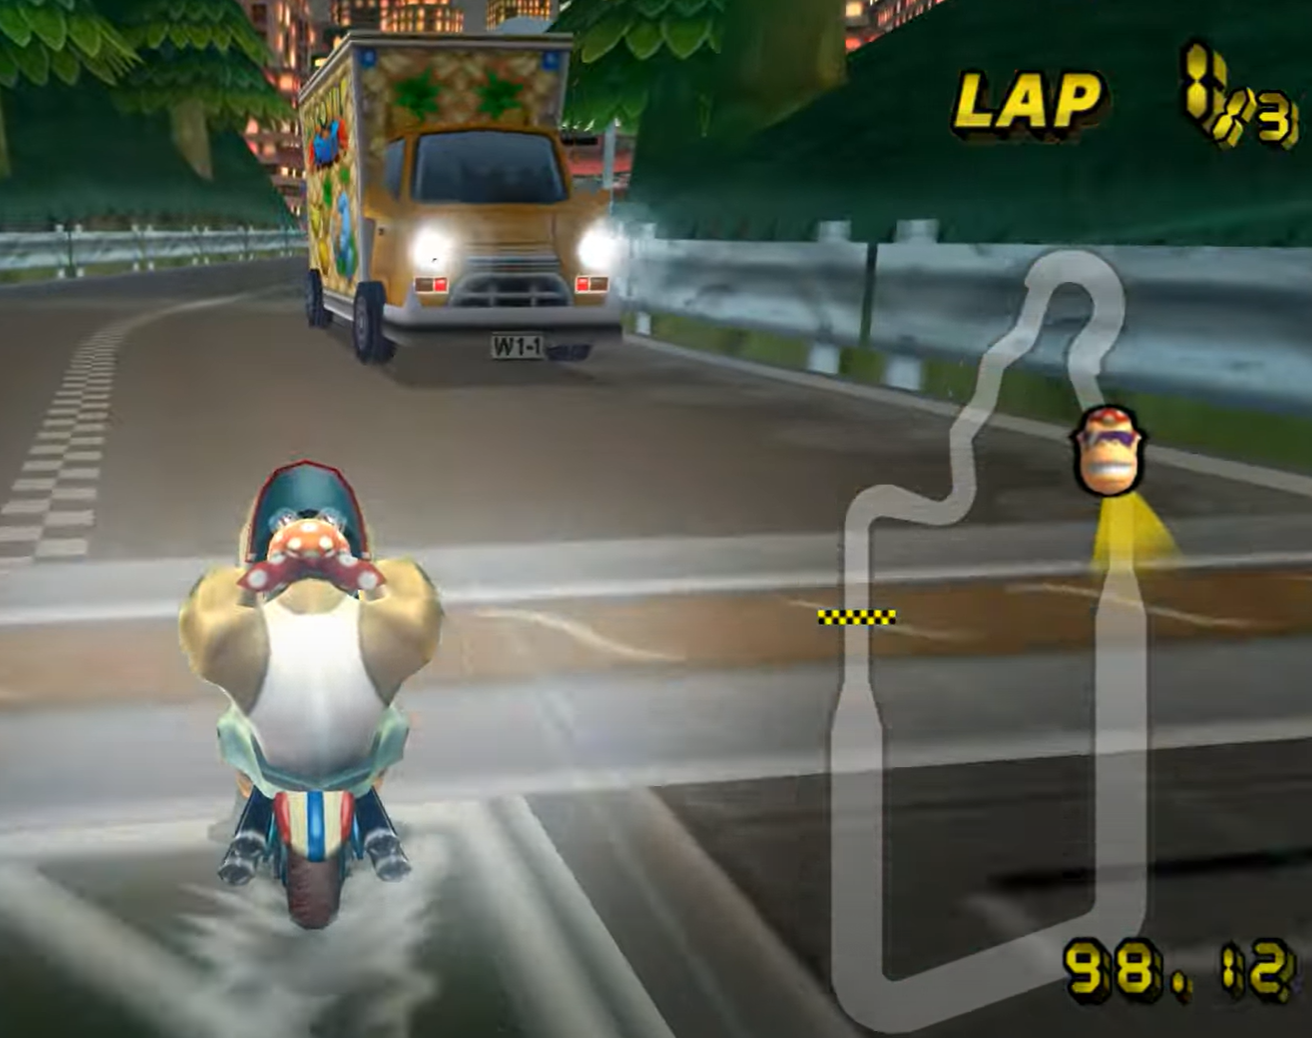
- Go left of the closest coconut truck and both blue cars in the below picture.
- Hairpin Exit
- Try to take the section from the hairpin exit to the boost panels like this: Goal.
- If you struggle with the goal, then do what you did on lap 1, but go through the tollbooth that is second from the left, rather than that which is leftmost.
- Pace Locks on the Boost Panels
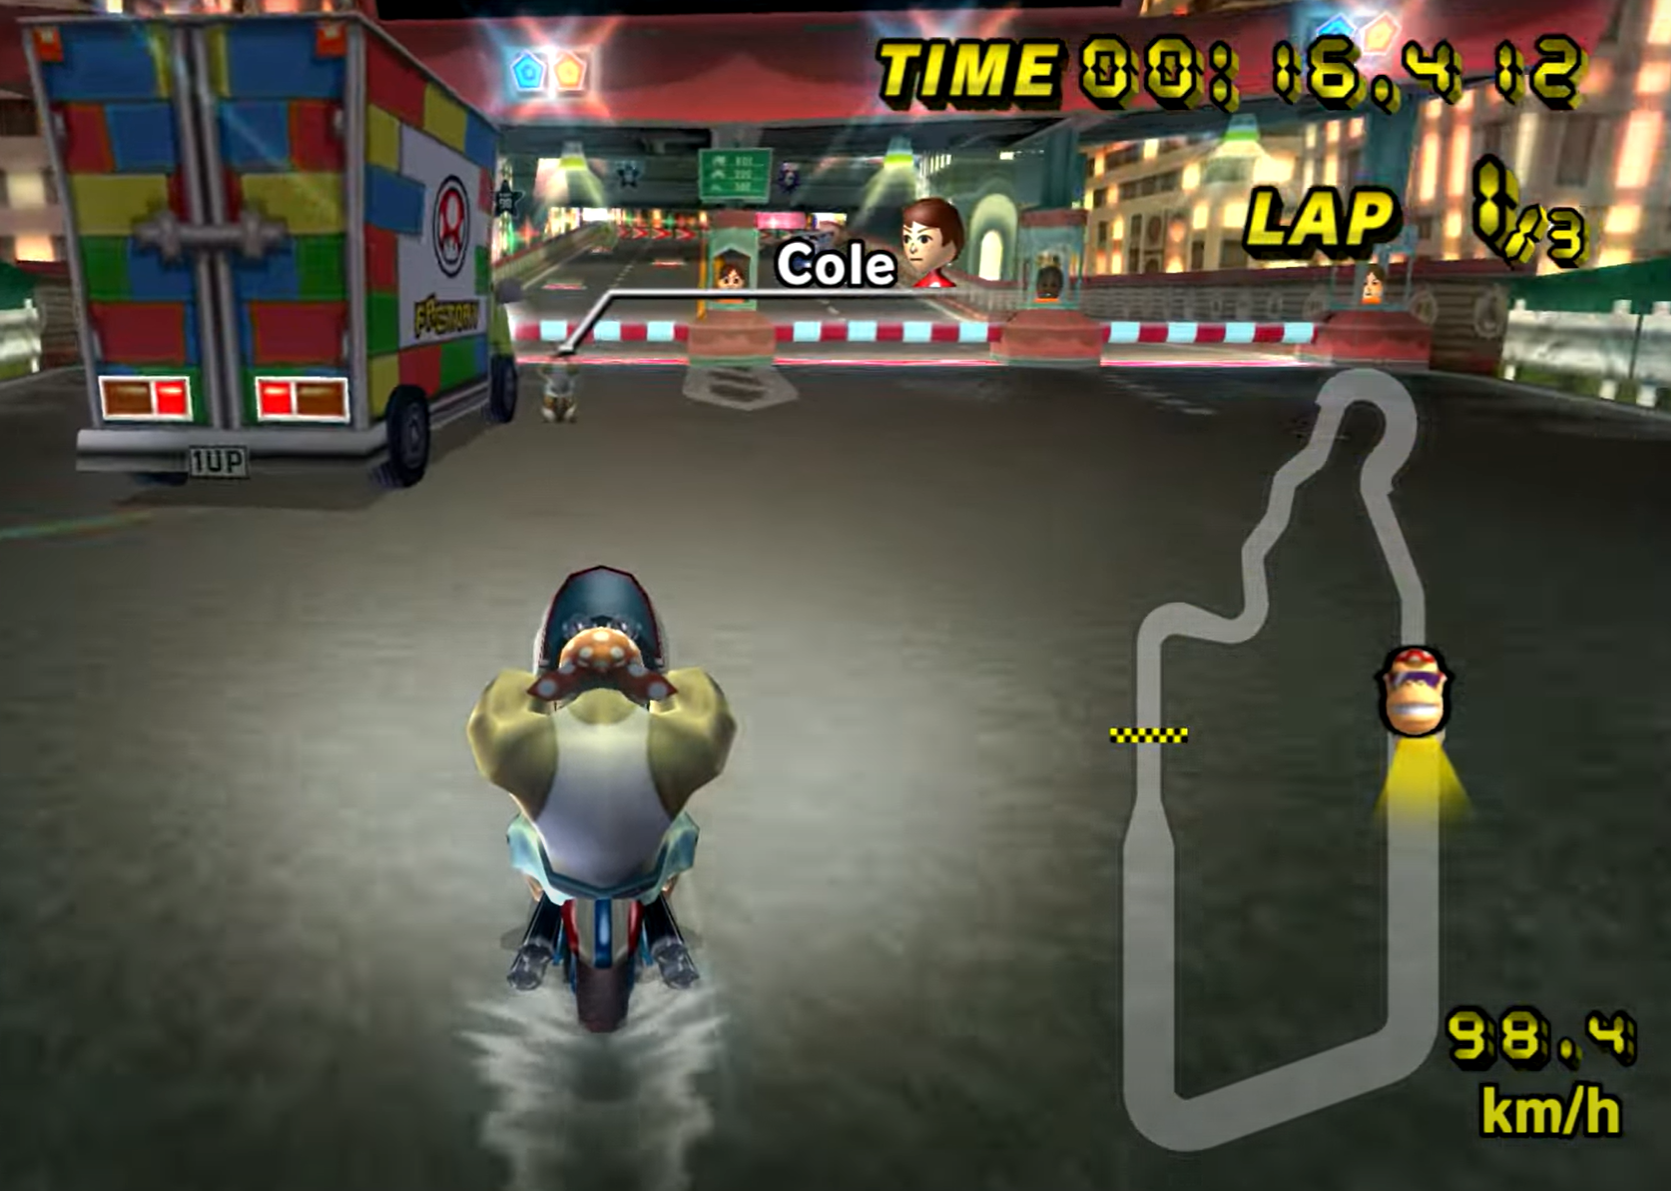
- You need to go right of the below truck and left of the below yellow car.
- If you cannot do so, then you need to be faster.
- The last turn can be taken widely to give yourself greater grace with the yellow car, as is done here.
- Ending the Lap
- The end of the lap should look something like this: Goal.
- Lap 3
- Shroom
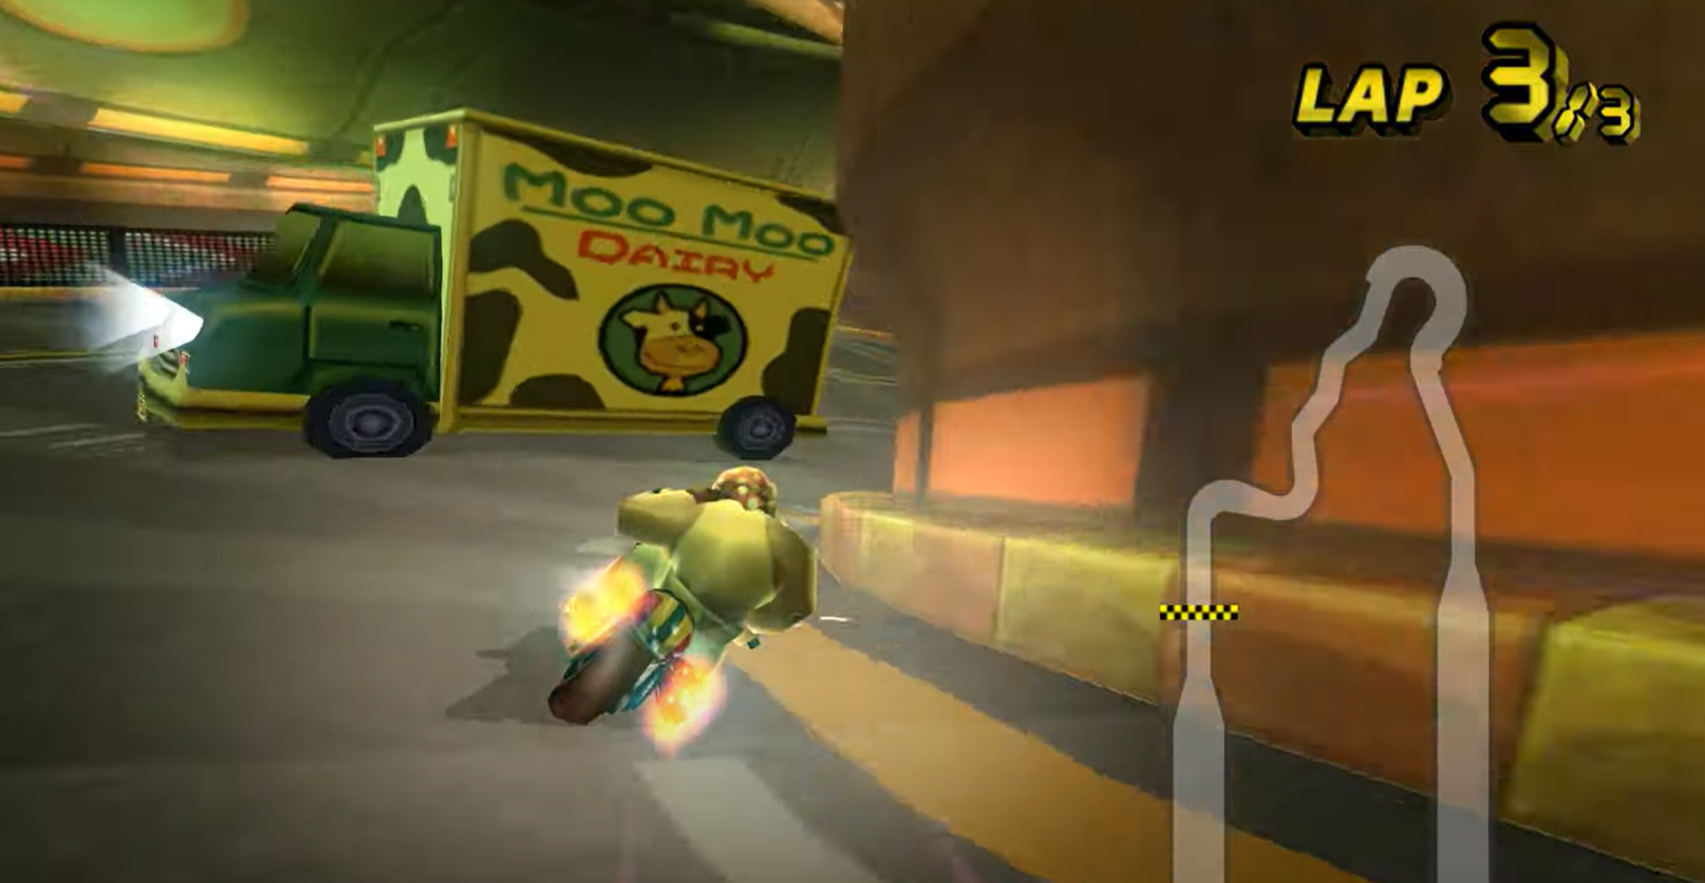
- Go left of the below blue car
- If you are fast enough to comfortably go right of it, then consider jumping ahead to 0-1-2 or 1-1-1 for mid 1:44.

- Bridge
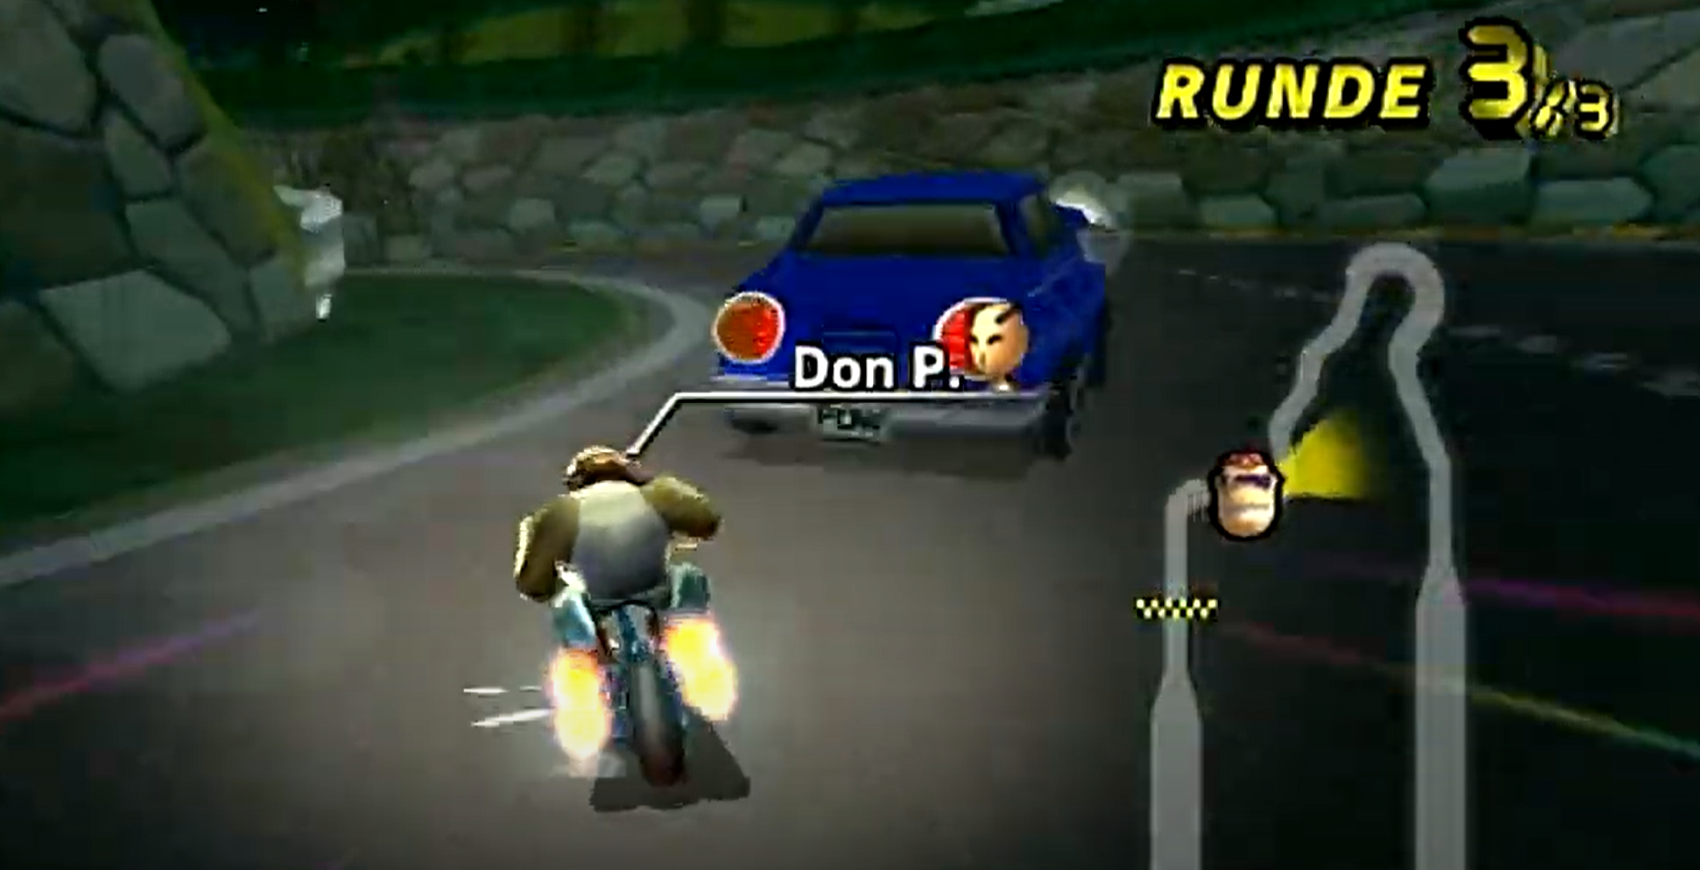
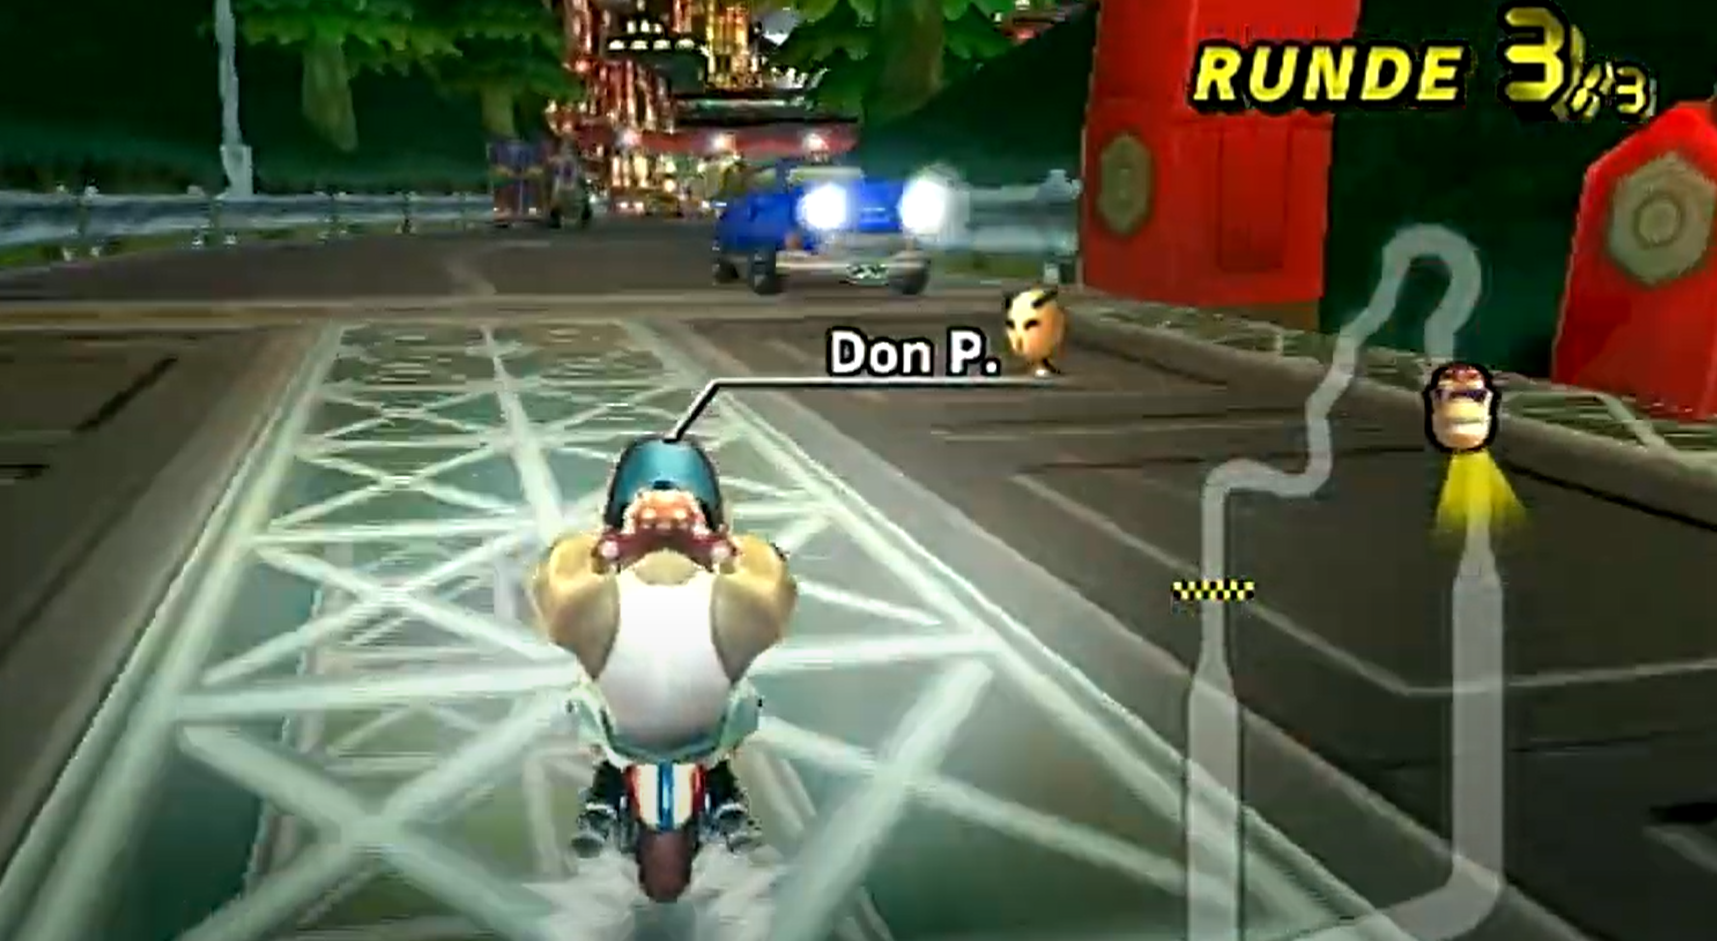
- Go left of the below red car.
- Go left of the below blue car.
- I recommend treating this part (from the hairpin to the boost panels) like lap 1 in everything other than the tollbooth entry because of this blue car.
- Yellow Car Pace Locks
- If you are on high 1:45 pace, then the below yellow car could be blocking the boost panel.
- If this is the case, then you need to know about it ahead of time.
- One good backup strategy is right side boost panel: Backup
- If you are on low 1:45 pace, then you could hit the below yellow car.
- You need to be going slow enough to go right of this car.
- The truck on the Last Turn
- You need to go right of the below truck and hit the boost panel.
- 1:45.3xx/4xx Pace
- You need to take a wide approach to the turn, as is done here: Approach
- Stop drifting right as you are about to pass the truck.
- Start drifting again just before hitting the boost panel.
- 0-0-3 for Mid or Low 1:45
- Example 1
- Example 2
- Why use this shroom strat?
- This shroom strat allows you to save time over 1-1-1 for mid 1:45 without beating the truck on the last turn of lap 3, seen below.
- It does not require that you beat the below truck with only one shroom, as does 0-1-2.
- Lap 1
- First Turn
- If you can make it faster to wheelie between the first and second turns, then go for it.
- If not, then do not wheelie.
- Approach to Hairpin
- I do not recommend tricking.
- Go right of the red car and the truck seen below.
- Take some time to align before you wheelie if you need to.
- No Alignment
- Hairpin Exit
- Try to take the section from the hairpin exit to the boost panels like this, but go through the tollbooth that is second from the left: Goal.
- If you struggle with this goal, then do this: Backup.
- Ending the Lap
- The end of the lap should look something like this: Example.
- It is alright if you go right of the below car.
- If you are consistently getting lap splits faster than 35.650, then consider jumping ahead to 0-1-2.
- Lap 2
- First Turn
- You need to approach wide.
- This is easier if you went left of the red car at the end of lap 1.
- If you hold your drift until are past the below yellow car, then you are more likely to avoid crashing.
- Do not wheelie after this turn.
- Second Turn
- Go right of the below yellow car.
-
- If you can get a wheelie out roughly here (see below) and do the next section well (probably one wheelie cancel between the trucks), then go for it.
- If not, then take a moment to align, as is done here.
- Either way, you should be aligned such as to go between the two foremost below trucks and left of the below cars.
- Hairpin Approach
- Go right of the below blue car.
- Hairpin Exit
- Try to take the section from the hairpin exit to the boost panels like this: Goal.
- If you are struggling with the goal, then do what you did on lap 1.
- Boost Panel Pace Locks
- If you are hitting either of the below vehicles consistently, then consider jumping ahead to 0-1-2.
- If you are on low 1:45 pace, then the below red car will be problematic.
- In this scenario, you could take the right path, as is done here: Right Path.
- If you do, make sure that you go left of all the oncoming vehicles in the below picture.
- Lap 3
- First Shroom
- I do not recommend that you try to get a wheelie out before the shroom ends (difficult).
- Second Shroom
- Option 1
- Shroom as soon as is feasible after the first shroom.
- Hairpin Exit
- Go left of the below red car.
- Try to take this section from the hairpin exit to the bridge like this: Goal.
- When performing the below wheelie cancellation, you might find it beneficial to cancel the wheelie by turning left, rather than through a down input.
- If you stuggle with the goal, then try this: Backup
- Option 2
- Shroom out of the hairpin.
- Go left of the below red car.
- Yellow Car Pace Locks
- On 1:45.3xx/4xx pace, the below yellow car will be blocking the boost panel.
- If this is the case, then you need to know about it ahead of time.
- One good backup strategy is right side boost panel: Backup
- If you are on 1:44 pace, then you could hit the below yellow car.
- You need to be going slow enough to go right of this car.
- The truck on the last turn.
- You need to go right of the below truck and hit the boost panel.
- 1:45.0xx Pace
- You need to take a wide approach to the turn, as is done here: Approach.
- Stop drifting right as you are about to pass the truck.
- Start drifting again just before hitting the boost panel.
- Last Shroom
- Shroom shortly after the boost from the last boost panel runs out.
- The latest that you should shroom is showcased in this example.
- 0-1-2 for low 1:45
- Example
- Why use this shroom strat?
- This shroom strat allows you to save time over 1-1-1 for mid 1:45 without beating the truck on the last turn of lap 3, seen below.
- It is easier to get a low 1:45 with this strat than with 0-0-3.
- Lap 1
- First Turn
- If you can make it faster to wheelie between the first and second turns, then go for it.
- If not, then do not wheelie.
- Approach to Hairpin
- I do not recommend tricking.
- Go right of the red car and truck seen below.
- Example
- Hairpin Exit
- Take the section from the hairpin exit to the boost panels like this, but go through the tollbooth that is second from the left: Bridge.
- Ending the Lap
- The end of the lap should look something like this: Example.
- It is alright if you go right of the below car.
- If you are consistently getting laps faster than 35.500, then consider switching to 1-1-1 for mid 1:44.
- Lap 2
- Beginning
- Do the section from the shroom up until the approach to the hairpin like this: Example.
- Hairpin Exit
- Take the section from the hairpin exit to the boost panels like this: Example.
- Pace Locks on the Boost Panels
- You need to go right of the below truck and left of the below yellow car.
- Lap 3
- First Shroom
- Go left of the below blue car.
- If you cannot do so, then consider jumping ahead to 1-1-1 for mid 1:44.
- Bridge
- If you have a good enough run up to this point (sub-1:10.400 entry into lap 3 and a good lap 3 beginning), then you will likely be too fast for the cycles on the boost panels.
- In this scenario, use your last shroom immediately upon exiting the hairpin, as is done here: Example.
- For sections after the bridge, refer to 1-1-1 for mid 1:44.
- Go left of the below red car.
- Go left of the below blue car.
- Yellow Car Pace Locks
- On 1:45.3xx/4xx pace, the below yellow car will be blocking the boost panel.
- If this is the case, then you need to know about it ahead of time.
- A good backup strategy is right side boost panel: Backup.
- If you are on 1:44 pace, then you could hit the below yellow car.
- You need to be going slow enough to go right of this car.
- The Truck on the Last Turn
- You need to go right of the below truck and hit the boost panel.
- 1:45.0xx Pace
- You need to take a wide approach to the turn, as is done here: Approach.
- Stop drifting right as you are about to pass the truck.
- Start drifting again just before hitting the boost panel.
- Last Shroom
- Shroom shortly after the boost from the last boost panel runs out.
- The latest that you should shroom is showcased in this example.
End of Run
- 1-1-1 for 1:44 - 1:43.4xx
- 1:44.780
- 1:44.663
- 1:44.120 (minimal strats)
- 1:43.919 (more strats)
- 1:43.852 (minimal strats)
- 1:43.752 (slow lap 3 trick)
- 1:43.748
- 1:43.682 (lap 3 trick)
- 1:43.583 (1-1-1 with right side boost)
- 1:43.534 (1-1-1 BKT)
- 1:43.391 (1-1-1 TAS that soft drifts under the red car)
- 1:43.355 (1-1-1 TAS that beats the red car)
- 1-1-1 BKS
- Note that the alternative BKS sheet is not maintained by an auto user and its currency is not within our control.
- Note also that cycles affect your ability to get certain splits. You should not expect a 311 lap 2 after a 300 lap 1 if you drive in the way that the lap 2 BKS does.
- You might notice that on mkwrs every time from 1:44.826 to 1:44.362 uses a 0-1-2 shroom strat and beats the truck on the last turn of lap 3. You should not do this. If you are going into a run with the intention of getting a 1:44, then 1-1-1 is superior in every way.
- Trick
- Right tricking is the easiest trick method for a beginner to do decently.
- You might wish to do up trick, since up trick is useful for lap 3, thus making it good to practice it.
- Low air left trick is the method which auto users have gradually migrated toward. It would behoove you to learn this method eventually. It is also especially useful for lap 2 of 1-0-2 runs.
- Artificial Chains
- If you have not already, you should implement artificial chains.
- Performing an artificial chain here (on all laps) saves time because you are below top speed.

- Right Side Boost Panel
- I recommend implementing this in sub-1:44 runs.
- Due to the position of the coconut truck, lap 1 is the hardest lap to do right side boost panel on. I do not recommend going for it on this lap.
- If you are on pace to get a sub 34.700 lap 1, then it is optimal to go right of this truck.
- Do not bend over backwards to make this happen.
- It is acceptable to go through the leftmost tollbooth.
- Do not do what is done in the below picture.
- If you are consistently getting first laps faster than 34.5, then I recommend shrooming left of this car and foregoing the wheelie prior to the shroom exit, as is done here: Example.
- This is recommended because it is easier and faster on paces where the car is sufficiently far right.
- If this applies, then you might consider jumping ahead to 1-0-2.
- Otherwise, go right of it and get the wheelie prior to the shroom’s end.
- If doing this, then the faster you are, the wider you will need to approach the shroom.
- If you are consistently getting first laps faster than 34.434, then I recommend going right of this car, as is done here: Example.
- This is recommended because of the difficulty of attaining the angle necessary to go left of this car on fast paces and because it gives you greater leeway with the upcoming truck (the one in the picture driving away from you).
- If this applies, then you might consider jumping ahead to 1-0-2.
- Otherwise, go left of it.
- If this truck is a problem, then consider jumping ahead to 1-0-2.
- If you would enter lap 3 with a time faster than 1:09.400 by going left of this truck, then do so.
- Otherwise, go right of it.
- It is not imperative that you go left of the truck. If you aren't sure, then go right.
- The faster your pace, the wider your approach to the shroom needs to be.
- On mid 1:43 pace, do not be concerned with cutting off lots of grass from the second grass patch.
- If you cannot comfortably go right of this car, then consider switching to 0-1-2 or 0-0-3.
- You should consider up-tricking here.
- On sub-1:43.700 pace, it is beneficial to angle yourself slightly left upon passing the truck, as can be seen below.
- This is done to make it so that you can go left of the blue car and take the hairpin tightly.
- You need to go left of this car.
- This is the primary/final noteworthy pace lock for this strategy.
- On fast paces, you might find it beneficial to soft drift around the hairpin. This results in a wider hairpin exit, making it easier to go left of the red car. This is demonstrated here.
- If you are on 1:44.250 pace or slower, then go left of this blue car.
- Otherwise, go right of it.
- This car makes right side boost panel awkward if you are not on sub-1:44 pace.
- If you are on 1:44.200 pace or slower, then go left of this car through the pictured tollbooth.
- Note that it is a bit of a tight squeeze on 1:44.200 pace, as illustrated below.
- Otherwise, go right of it.
- Proceed as normal if you are going for right side boost panel.
- Because of the truck, I am unsure if it is worth it to do right side boost panel lap 3 on mid to low 1:43.4xx pace.
- You will be fine if you are going for 1:43.5xx.
- On mid/high 1:44 paces, you will need to take the penultimate turn widely to avoid the yellow car.
- On mid/high 1:44 paces, you will need to take the final turn widely to avoid the truck.
- 1:44.9xx Pace
- High 1:44.5xx? Pace
- On 1:44.6xx/7xx pace you should take the right path to avoid the car, as is done here: Right Path.
- If you do right path, make sure that you do not need to chain before the finish line.
- 1-0-2 for Mid 1:43
- 1:43.514
- 1:43.511 (Bridge Last Shroom)
- 1:43.485
- 1-0-2 BKS
- Note that the alternative BKS sheet is not maintained by an auto user and its currency/accuracy is not within our control.
- Lap 1
- This is the same as lap 1 was in your previous 1-1-1 runs.
- I recommend implementing lap 1 right side boost panel if you have not already.
- If it is more convenient to go through the tollbooth that is second from the right on this lap, then do so, as is done here: Example.
- Lap Transition
- The chain done at the beginning of lap 2/end of lap 1 should be done as late as possible (this is also applicable for the next lap).
- This is because a late chain means that you do not have to accelerate all the way back up to full speed.
- This is magnified when you do not get a full chain.
- Lap 2
- Lap 2 Trick
- You need to get grabbed.
- You need to do a low air left trick to go right of the below blue car.
- Go right of the below blue car.
- If you do not trick, then do this: Example.
- Lap Transition
- If you would enter lap 3 with a time faster than 1:09.400 by going left of the below milk truck, then do so.
- Otherwise, go right of it.
- Lap 3
- First Shroom
- You need to go right of the below blue car.
- If you cannot, then consider switching to 1-1-1 for mid 1:43.
- Lap 3 Trick
- You need to do either an up trick or some method of left trick so that you can go right of the below truck.
- Last Shroom
- High 1:43.4xx pace or slower
- Shroom out of the hairpin.
- Go left of the below red car.
- Mid 1:43.4xx or Faster
- Cancel the chain wheelies on the bridge.
- Use the shroom as early as possible so that you do not have to accelerate all the way up to top speed.
- It is worth noting that on fast enough paces, you might be able to make it faster to shroom out of the hairpin and go right of the red car.
- Lap 3 Boost Panels.
- If you are on pace for low 1:43.4xx or better, then do not go for right side boost panel lap 3 on account of the below truck.
- 1-1-1 for low 1:43
- No runs have been completed with these strategies yet, but all are known to be reasonably achievable (unless otherwise specified).
- Lap 1 must be done very well. Certainly sub-34.400 is necessary. It would be preferable to get a mid 34.3xx or better.
- Lap 2
- Shroom
- Go left of the below car.
- If possible, get a wheelie out before the shroom ends.
- I am not confident in the viability of this.
- This was TASed: Example.
- I (Ash) am not a skilled TASer, so it could be done better RTA.
- Note how close I am to the car (seen below) despite BKS lap 1 and an early shroom.
- Also worth noting is that there is some space between me and the wall on the second grass patch (seen below).
- All of that is to say that you had better be on a very good pace if you want a wheelie before the end of the shroom.
- Regardless of whether you get the wheelie, you should be aligned to trick after the shroom.
- Trick
- You must do a low air left trick.
- Go between the two below blue cars.
- Here is an attempt that was too slow to beat the car and did not go for the wheelie prior to the end of the shroom: Example.
- Hairpin
- You will have to briefly let off the gas to get past the below truck.
- Lap 3
- Shroom
- Go left of the below truck.
- Here is a TAS which does so after entering lap 3 at 1:08.835 (note that it lets off of the gas briefly after starting the lap): Example.
- You will hopefully be ahead of this TAS into lap 3.
- Do not go for a wheelie before the shroom ends.
- Trick/Hairpin
- Safe Method (Ignore that this starts on top route)
- Perform an artificial chain shortly after you start the wheelie after the shroom.
- Go left of the below truck.
- Do not trick.
- Normal Method.
- Perform an up trick.
- Approach the hairpin wide.
- Go left of the below blue car.
- The car will be quite inconvenient. You will need to go significantly wider than normal.
- Method for Fast Paces (Ignore that this starts on top route)
- Perform a low air left trick.
- Go right of the below blue car.
- I estimate that this can be done after entering lap 3 at mid 1:08.6xx.
- Briefly let off the gas such that you do not hit the below yellow car.
- Regardless of the method employed, go right of the below red car.
- Penultimate Turn
- It might be necessary to perform some sort of evasion in order to go left of the below truck: Example.
- If you are on 1:43.2xx pace or slower, then you probably do not need any evasion.
- On fast paces, you need to take the penultimate turn tightly in order to go right of the below blue car.
- 1:42 Theory
- Hill Shroom
- Disclaimers
- Getting the stick requires that you be very lucky.
- I have never gotten the stick and a good alignment. When I get the stick, I am angled too far to the right.
- This is my best attempt.
- I think that the best way to fix this is to perform a left drop wheelie immediately after sticking, like what is done here, but during the shroom boost: Example.
- Shroom at roughly the first grass patch.
- Approach the hill in a wheelie.
- You should probably be wheelie turning to the left.
- Cancel your wheelie such that your front tire falls onto the hill.
- Briefly drift right.
- Wheelie at the top of the hill.
- You probably will need to perform a left drop chain, preferably before your boost runs out.
- 1:42.9xx
- This can be attained using 1-1-1 while going left of the below truck, as shown here: Example.
- You will, in all likelihood, need to do hill shroom lap 3 in order to achieve this.
- Beware of the below blue car. You will want to go right of it, but it will be difficult to do so.
- 1-0-2 for Mid to High 1:42
- I envision splits of around 34.100 - 35.000 - 33.700.
- This will require 2/3 hill shroom.
- The last shroom would be used into the finish line.
- This strategy allows you more comfortable vehicle cycles for laps 2 and 3 than does 1-1-1.
- Nevertheless, I do not recommend this strategy unless you are absolutely positive that you cannot beat the truck and the blue car on the penultimate turn of lap 3 with 1-1-1.
- You ought to go left of the below blue car.
- You ought to go right of the below red car.
- 1-1-1 for Mid 1:42
- Do hill shroom on lap 3. You probably need at least a low 1:08.6xx lap 3 entry.
- Go right of the below truck.
- Go left of the below blue car.
- If you are fast enough, then emulate this: Example.
- Otherwise, go a little wider and forego the wheelie after the turn.
General Track Rules
Unless there is a car cycle that prevents you from doing so, it is fastest to follow these rules.

Shroom Strategies
If you are just starting, then I recommend trying to set at least one PB with each strategy before moving on to the next. You can find numerous old auto runs on mkwrs.

- If you cannot go left or right of it comfortably, then consider jumping ahead to 0-0-3.


End of Run


End of Run


End of Run


End of Run


End of Run


End of Run